
Introduction to Using The Digital Multimeter
A Digital Multimeter (DMM) is an essential tool for anyone working with electronics, from hobbyists to professional engineers. It allows users to measure voltage, current, resistance, and other electrical parameters with precision. In this article, we will explore the fundamentals of a DMM, its various functions, and how to use it safely and effectively.
Understanding the Digital Multimeter
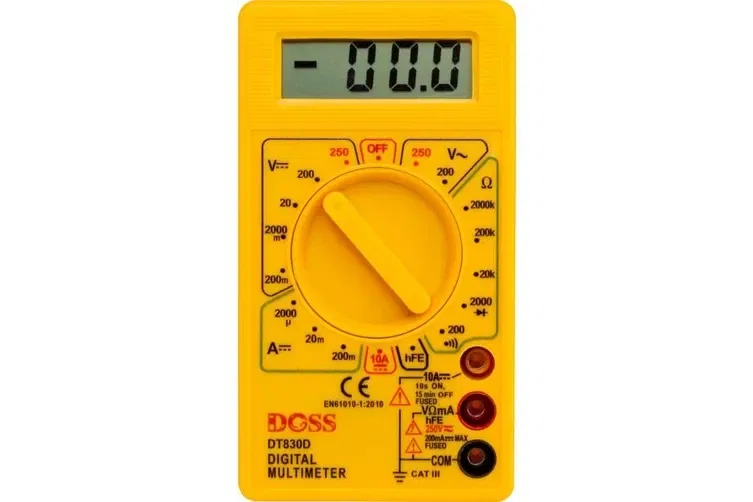
A digital multimeter consists of the following key components:
- Display: Shows the measured value.
- Selection Dial: Allows the user to choose different measurement modes.
- Probes: Red and black probes used for measuring.
- Input Jacks: Ports where probes are connected for different measurements.
Most DMMs can measure the following:
- Voltage (V): DC and AC voltage.
- Current (A): DC and AC current.
- Resistance (Ω): Measures the opposition to electrical flow.
- Continuity: Tests if a circuit is complete.
- Diode Testing: Checks the functionality of diodes.
- Capacitance & Frequency: Available in advanced models.
- Temperature Measurement: Some DMMs come with a temperature probe for direct readings.
Important Note on Safety
Never attempt to measure the voltage of a wall power outlet. Doing so can be extremely dangerous and may result in electric shock.
Here at Labdarna we put your own safety first.
How to Use a Digital Multimeter
1. Measuring Voltage
- Set the dial to DCV (Direct Current Voltage) or ACV (Alternating Current Voltage) depending on the circuit.
- Insert the black probe into the COM port and the red probe into the V port.
- Place the probes across the component or power source.
- Read the voltage on the display.
- Ensure you use the correct range, or switch to auto-ranging if your DMM supports it.
2. Measuring Current
- Move the red probe to the A or mA port if measuring high or low current.
- Select the appropriate current range (DC or AC).
- Connect the probes in series with the circuit.
- Read the current value displayed.
- Be cautious when measuring high currents, as incorrect settings may damage the multimeter.
3. Measuring Resistance
- Turn the dial to the Ω (Ohm) setting.
- Insert the probes into COM (black) and V/Ω (red) ports.
- Place the probes across the component.
- The display will show the resistance value.
- Ensure the circuit is de-energized before measuring resistance.
4. Checking Continuity
- Set the dial to the continuity mode (symbolized by a soundwave or diode symbol).
- Place the probes across the circuit or wire.
- If there is continuity, the DMM will beep.
- Useful for testing fuses, wires, and PCB traces.
5. Testing a Diode
- Select the diode test mode.
- Place the red probe on the anode and black probe on the cathode.
- A working diode will show a small voltage drop; a faulty diode will show no reading or zero resistance.
- Reverse the probes to check for reverse bias.
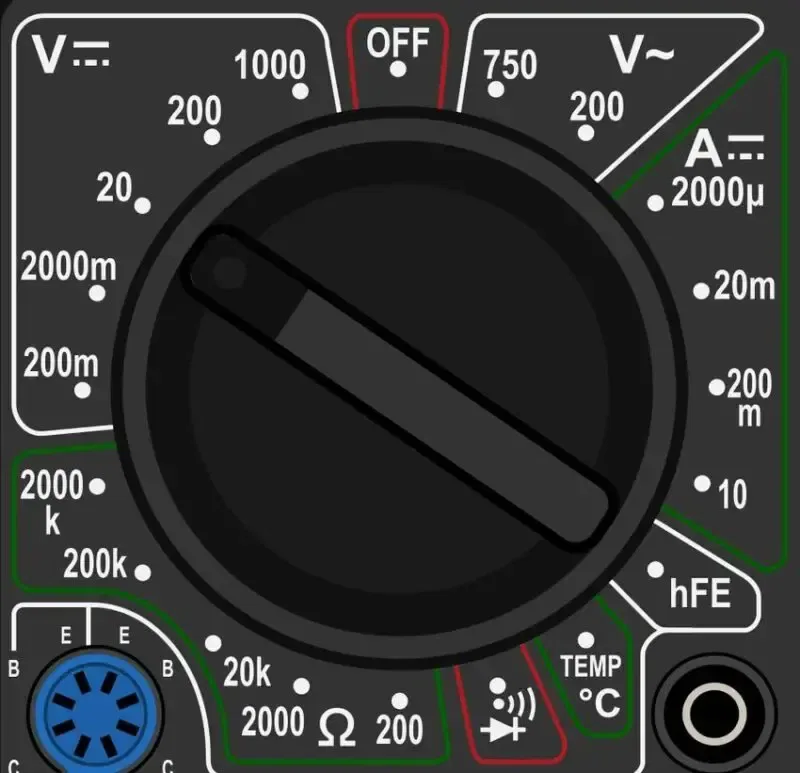
Mode Selection and Symbols
- Voltage Measurement:
- DC Voltage (DCV): Represented by a solid line above a dashed line.
- AC Voltage (ACV): Indicated by a tilde symbol (~).
- Current Measurement:
- DC Current (DCA): Denoted by 'A' with a solid and dashed line.
- AC Current (ACA): Shown as 'A~'.
- Resistance Measurement: Symbolized by the omega (Ω) sign.
- Continuity Test: Often represented by a soundwave or diode symbol.
- Diode Test: Indicated by the diode symbol.
Understanding these symbols ensures accurate mode selection and measurement.
Safety Tips When Using a DMM
- Always start with the highest range to prevent damage.
- Never measure resistance in a live circuit.
- Use the correct probe ports to avoid damaging the DMM.
- Handle the probes carefully and avoid short circuits.
- Ensure the multimeter is set to the correct measurement type before connecting it to a circuit.
- Warning for Young Users: Never attempt to measure the voltage of a wall power socket or any high-voltage source. This can cause serious injury or even be fatal.
A Digital Multimeter is a powerful and versatile tool that simplifies troubleshooting and testing electrical components. Whether you are a beginner or an experienced technician, understanding its functions and proper usage will enhance your efficiency in working with electronics.
Related Topics:

Discover the fundamentals of diodes, their types, functions, and applications in electronics. Learn how diodes are used in power rectification, voltage regulation, signal processing, and more.
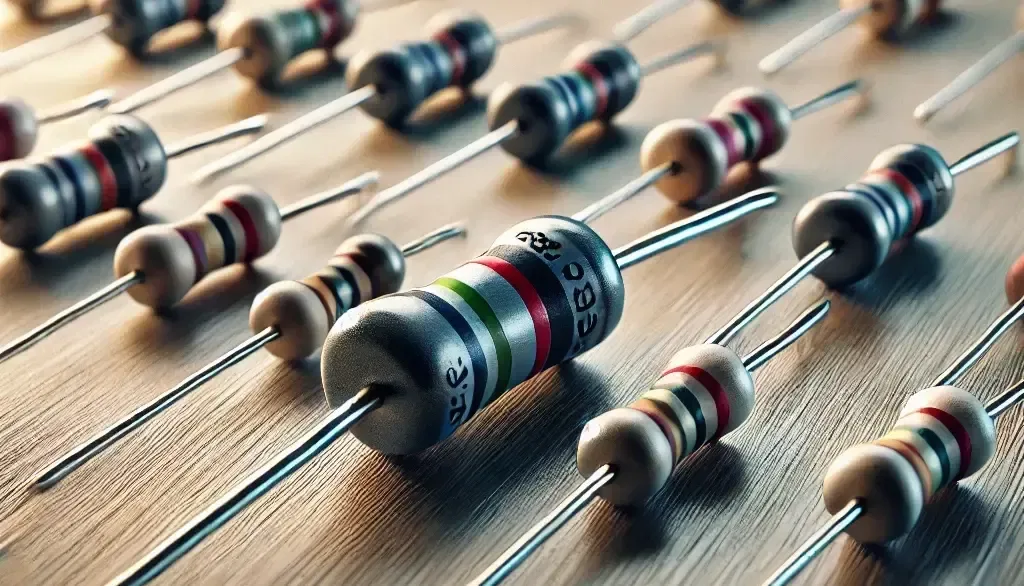
Resistors are key in electronics, from LED circuits to advanced projects. This guide covers their function, types, identification, and a relatable analogy to simplify learning.
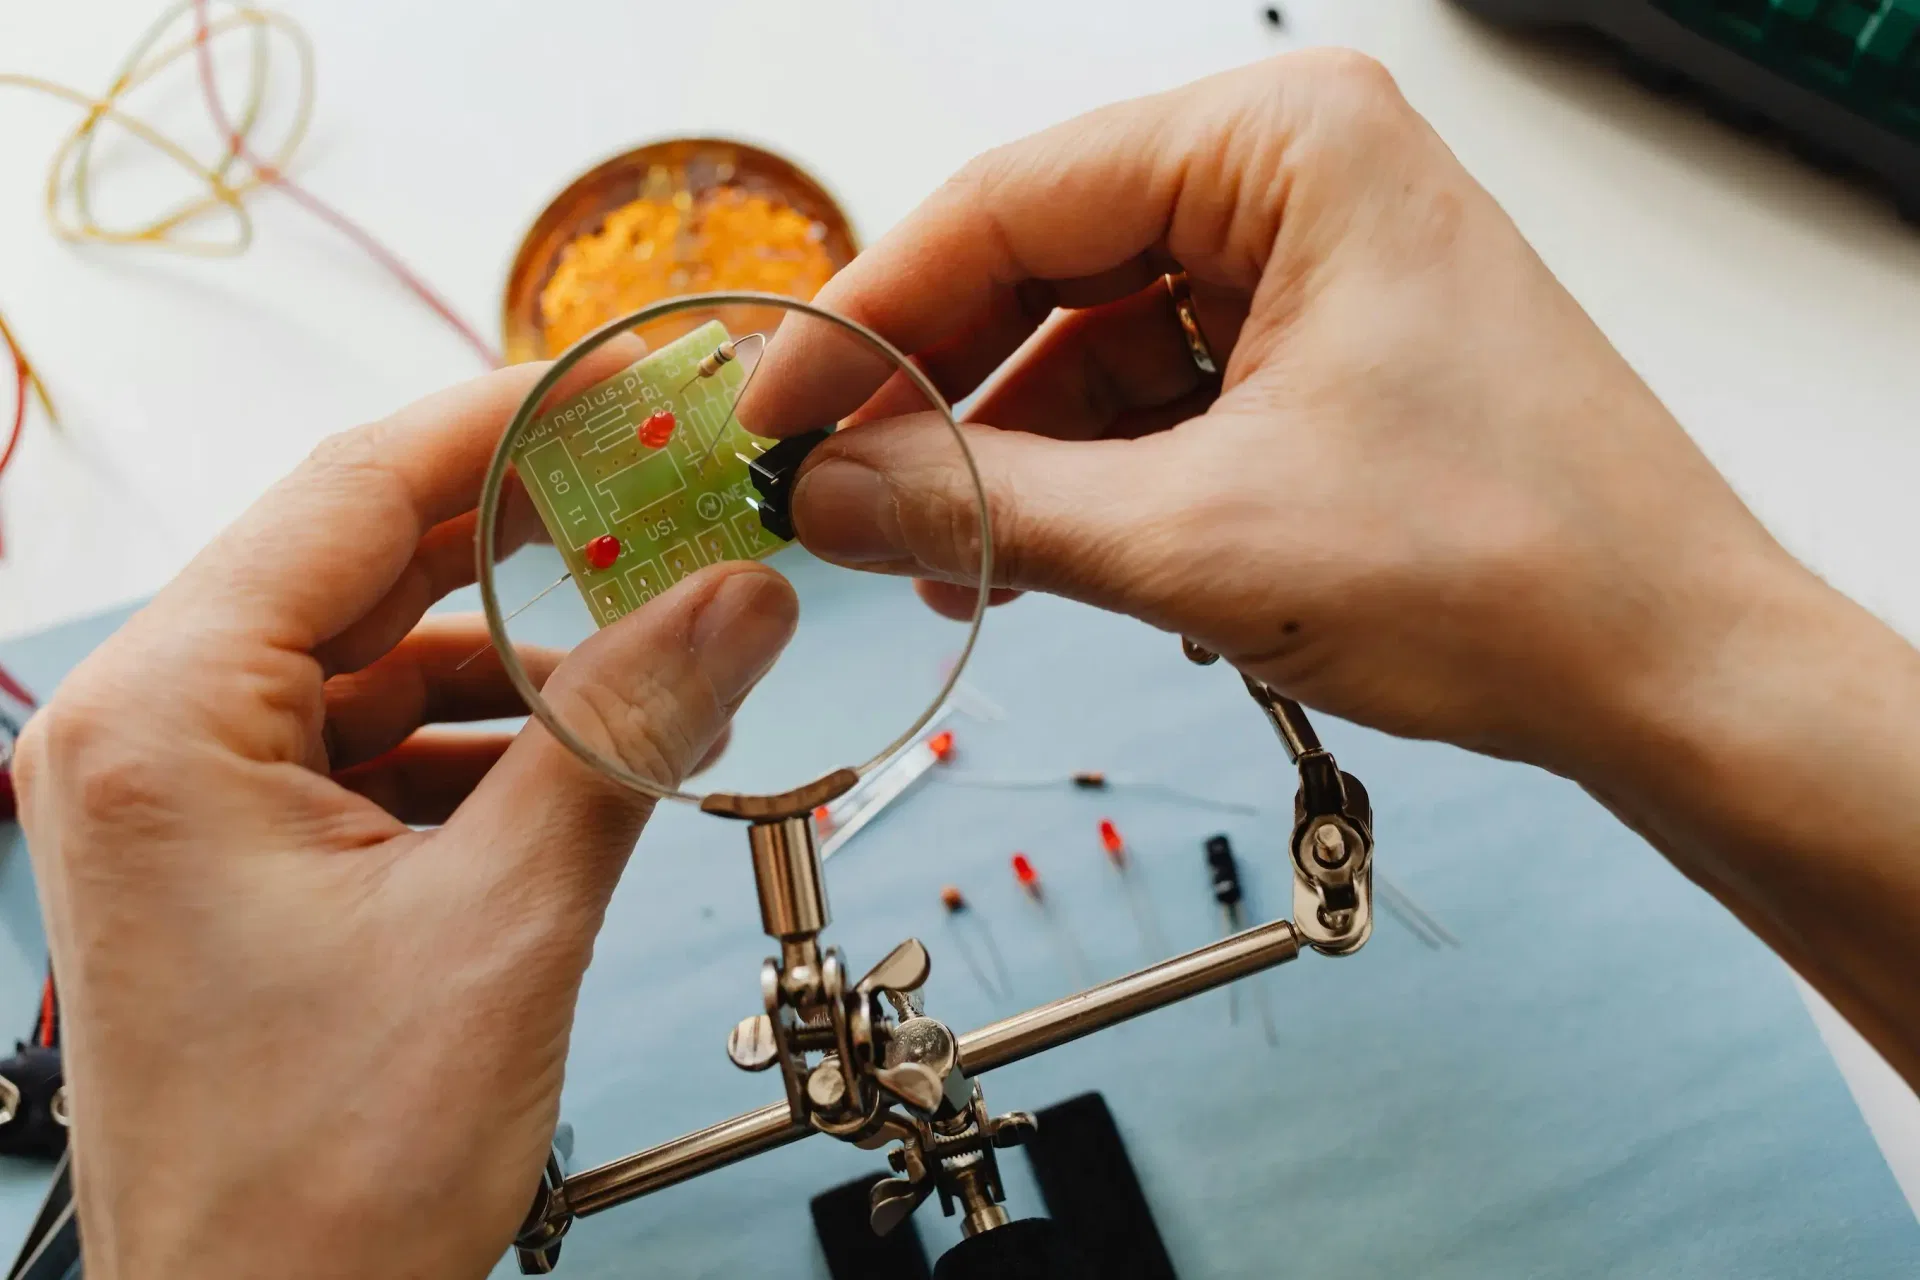
This article explores the fundamental aspects of indicator LEDs, including their pin configuration, identification of anode and cathode, correct circuit connection, current protection methods, and more
Or you can explore other categories
Electronics